Craftsman table saws, renowned for durability, offer versatile cutting solutions for DIYers and professionals alike. Numerous models exist, from portable to floor-standing versions.
Finding the correct instruction manual, whether a PDF or physical copy, is crucial for safe and effective operation. Sears and online resources provide access.
Early models, like King Seeley floor types, require specific guidance. Understanding your saw’s features, as detailed in the manual, maximizes its potential.
Understanding the Versatility of Craftsman Table Saws
Craftsman table saws demonstrate remarkable adaptability, handling diverse woodworking tasks with precision. From simple straight cuts using the rip fence to intricate angled cuts with the miter gauge, these tools excel. The instruction manual details each function, ensuring optimal performance. Portable models offer jobsite convenience, while larger floor versions provide stability for demanding projects.
Accessory compatibility further expands their capabilities – dado cuts, utilizing push sticks and featherboards, become achievable. Understanding your specific model, as outlined in its manual, unlocks its full potential. Whether framing or detailed joinery, a Craftsman saw delivers.
Brief History of Craftsman Table Saw Models
Craftsman table saws boast a rich history, evolving alongside woodworking techniques. Early models, often manufactured by King Seeley, were robust floor-standing units, prized for their durability. Later iterations included portable jobsite saws, catering to increased user mobility. Locating the correct instruction manual for vintage saws can be challenging, yet crucial for safe operation and repair.
Throughout the years, Craftsman consistently offered a range of sizes, from 8.25-inch to 10-inch options; Accessing archived manuals online, or through Sears PartsDirect, provides valuable insight into these historical designs and their intended use.

Safety First: Essential Precautions
Prioritize safety! Always consult your Craftsman table saw instruction manual before operation. Understand kickback risks and utilize proper PPE for secure woodworking.
Personal Protective Equipment (PPE)
Your Craftsman table saw instruction manual emphatically stresses the importance of Personal Protective Equipment (PPE). Safety glasses are non-negotiable, shielding your eyes from flying debris. Hearing protection, like earmuffs, is vital due to the saw’s loud operation, preventing long-term damage.
A dust mask or respirator safeguards your lungs from fine wood particles. Close-toed shoes are essential, protecting your feet from dropped materials or accidental contact with the blade. Avoid loose clothing or jewelry that could become entangled in moving parts.
Proper PPE significantly reduces the risk of injury while operating your table saw, ensuring a safer and more enjoyable woodworking experience.

Understanding Table Saw Kickback
The Craftsman table saw instruction manual dedicates significant attention to kickback – a dangerous event where the workpiece is violently thrown back towards the operator. This occurs when the blade binds or pinches the wood. Avoiding kickback is paramount for safety.
Factors contributing to kickback include improper fence alignment, dull blades, or feeding the wood incorrectly. Always use a feeder or push stick, especially for narrow cuts. Never stand directly in the line of potential kickback.
Understanding the causes and preventative measures detailed in your manual is crucial for safe operation and avoiding serious injury.
Emergency Stop Procedures
Your Craftsman table saw instruction manual emphasizes immediate action in emergencies. The most accessible safety feature is the power switch – locate and familiarize yourself with its operation before starting any cut. Practice reaching it quickly and confidently.
In a hazardous situation, immediately depress the power switch to halt the blade. Avoid hesitation; swift action minimizes potential injury. Additionally, be aware of any emergency shut-off mechanisms specific to your model.
Regularly review these procedures, ensuring all operators understand and can execute them effectively.

Components of a Craftsman Table Saw
The instruction manual details key parts: table, fence, motor, blade, arbor, rip fence, and miter gauge. Understanding each component’s function is vital for operation.
Table and Fence Assembly
The Craftsman table saw instruction manual emphasizes proper table and fence alignment for accurate cuts. It details attaching the legs securely to the base, ensuring stability during operation. The tabletop installation requires careful alignment with pre-drilled holes.
Fence assembly involves attaching rails and the fence itself, verifying smooth gliding action. The manual illustrates proper fence locking mechanisms, preventing unwanted movement during ripping operations. Precise fence alignment, using a measuring tape, is crucial for straight, consistent results. Regularly check for looseness and tighten bolts as needed, following the manual’s guidance.
Motor and Drive Belt System
The Craftsman table saw instruction manual provides detailed steps for mounting the motor securely to the saw’s frame. It stresses the importance of correct electrical connections, adhering to safety guidelines. Installing the drive belt requires proper routing around the motor and arbor pulleys, ensuring correct tension.
The manual illustrates belt tension adjustment procedures, vital for optimal power transfer and preventing slippage. Regularly inspect the belt for wear and tear, replacing it when necessary. Proper alignment of the motor and pulleys minimizes vibration and extends belt life, as outlined in the manual.
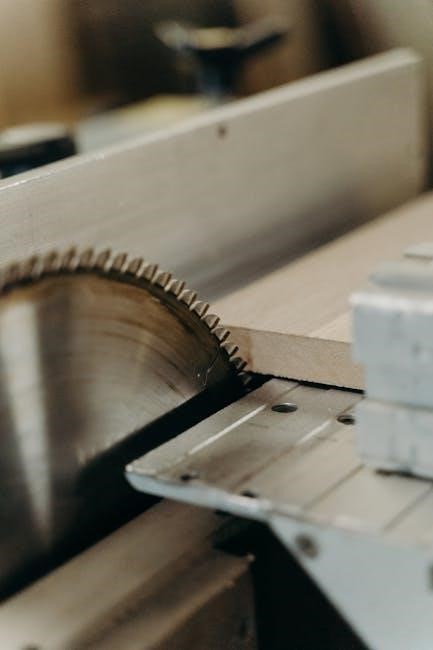
Blade and Arbor Details
The Craftsman table saw instruction manual emphasizes safe blade handling and proper installation onto the arbor. It details compatible blade types and sizes for your specific model, crucial for optimal performance. The manual illustrates how to securely tighten the arbor nut, preventing blade wobble during operation.
It also covers blade changes, stressing the importance of disconnecting power before proceeding. Understanding arbor runout and how to check it is vital for precision cuts. The manual provides guidance on blade sharpening or replacement, ensuring continued cutting efficiency and safety.
Rip Fence and Miter Gauge
Your Craftsman table saw instruction manual provides detailed guidance on utilizing both the rip fence and miter gauge for accurate cuts. It explains how to properly lock and unlock the rip fence, ensuring parallel cuts for consistent results. The manual illustrates adjusting the fence for varying rip widths, maximizing versatility.
Regarding the miter gauge, the manual details setting and locking angles for precise crosscuts. It emphasizes the importance of using the miter gauge only with non-through cuts, preventing potential kickback. Proper alignment procedures are outlined, guaranteeing accurate angled cuts every time.

Assembly Instructions
The Craftsman table saw instruction manual is essential for correct assembly. It guides you through unboxing, leg attachment, tabletop installation, and motor mounting procedures.
Carefully follow each step, referencing diagrams within the manual, to ensure a stable and safely functioning table saw.
Unboxing and Initial Inspection
Begin by carefully unboxing your new Craftsman table saw, referencing the parts list in the instruction manual. Inspect all components for shipping damage – the tabletop, legs, motor, fence, and included hardware.
Verify that all listed parts are present. Note any missing or damaged items immediately and contact Sears PartsDirect or Craftsman customer support.
Retain the packaging until assembly is complete. A thorough initial inspection, guided by the manual, prevents issues later and ensures a smooth setup process. Don’t discard the manual!
Attaching the Legs and Base
Consult your Craftsman table saw instruction manual for specific leg and base attachment procedures, as they vary by model. Typically, this involves aligning the legs with pre-drilled holes in the saw’s base.
Securely fasten the legs using the provided bolts and washers, tightening them evenly. Ensure the base is level and stable before proceeding.
Double-check all connections for tightness. A wobbly base compromises safety and accuracy. Refer to diagrams in the manual for correct orientation and hardware usage.
Installing the Table Top
The Craftsman table saw instruction manual will detail the table top installation process. Carefully position the table top onto the assembled base, aligning it with the mounting points.
Secure the table top using the appropriate bolts or screws, ensuring they are tightened evenly to prevent warping. Check for a flush fit and smooth surface.
Pay close attention to any specific instructions regarding table inserts or extensions. A properly installed table top is crucial for accurate cuts and safe operation.
Mounting the Motor and Drive Belt
Consult your Craftsman table saw instruction manual for precise motor mounting instructions. Position the motor onto the designated mounting plate, aligning the bolt holes carefully. Securely fasten the motor using the provided bolts, ensuring a snug fit.
Install the drive belt, following the diagram in the manual, ensuring proper tension. Adjust belt tension as needed for optimal performance.
Verify the pulley alignment before operation; A correctly mounted motor and belt are vital for smooth, efficient table saw functionality.
Operating Your Craftsman Table Saw
Refer to your Craftsman table saw instruction manual before each use. Understand controls, safety features, and proper cutting techniques for optimal results and safety.
Powering On and Initial Checks
Before powering on your Craftsman table saw, consult the instruction manual for specific guidance related to your model. Ensure the blade is properly installed and guarded, and that all safety devices are functioning correctly. Verify the power switch operates smoothly and that the cord isn’t damaged.
Always perform a “no-load” test – briefly turn the saw on without material – to listen for unusual noises or vibrations. Check the blade’s rotation direction against the manual’s diagram. Confirm the rip fence and miter gauge move freely, but lock securely when engaged. A pre-operation check, guided by the manual, is vital for safe operation.
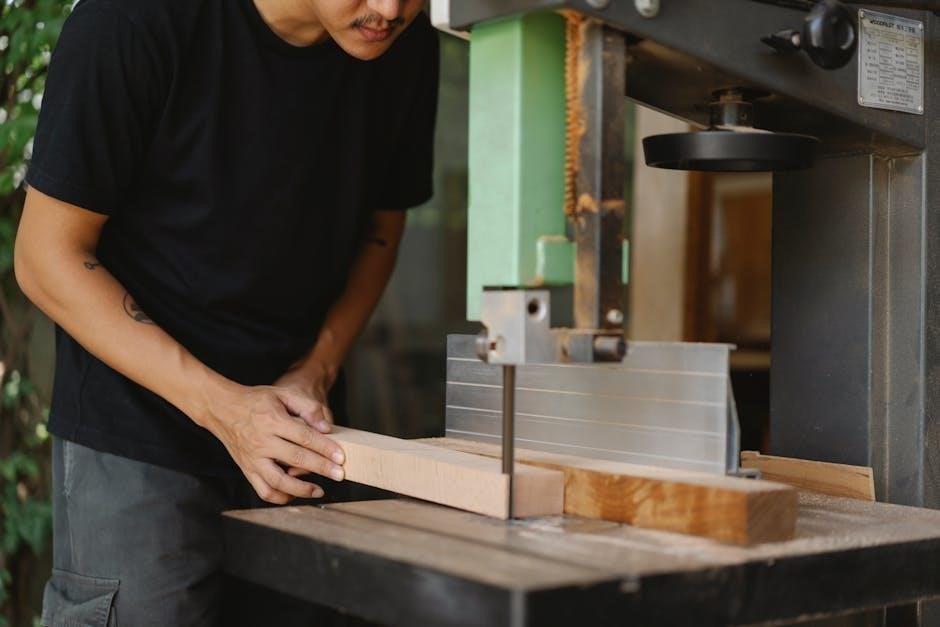
Making Straight Cuts with the Rip Fence
The Craftsman table saw instruction manual details proper rip fence usage for accurate, straight cuts. Loosen the fence lock and position it parallel to the blade, referencing the scale for desired width. Re-tighten the lock firmly, ensuring it doesn’t shift during operation.
Always use a push stick when ripping narrower stock, maintaining firm downward pressure. The manual emphasizes keeping hands clear of the blade path. Regularly check fence alignment, as detailed in the maintenance section, to prevent drifting cuts. Precise fence setup is key to quality results.
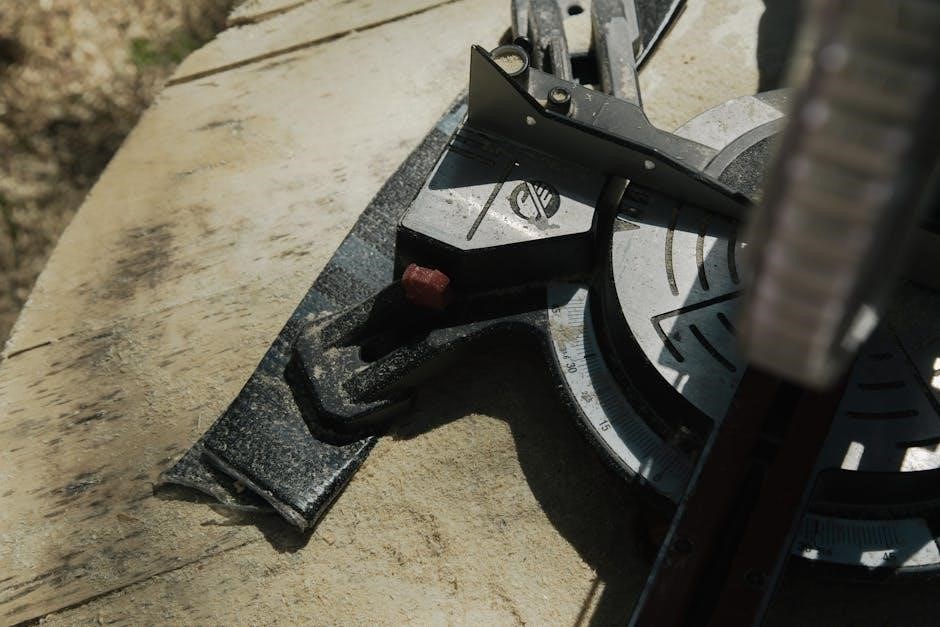
Using the Miter Gauge for Angle Cuts
Your Craftsman table saw instruction manual illustrates how to utilize the miter gauge for precise angled cuts. Loosen the miter gauge’s locking knob and adjust it to the desired angle, using the degree markings. Securely tighten the knob before operation. Always support the workpiece firmly against both the gauge and the fence.
The manual cautions against using the rip fence with the miter gauge simultaneously, as this can cause binding and kickback. For wider stock, consider building a crosscut sled for enhanced stability and accuracy, as suggested in advanced techniques sections.
Adjusting Blade Height and Angle
The Craftsman table saw instruction manual details blade height and angle adjustments. Unlock the handwheels controlling these settings. Raise or lower the blade for the desired cut depth, ensuring sufficient exposure but avoiding excessive height. Adjust the blade angle for bevel cuts, referencing the degree scale.
Always relock the handwheels securely after each adjustment. The manual emphasizes checking alignment before cutting. Incorrect settings can lead to inaccurate cuts or dangerous kickback. Refer to diagrams within the manual for visual guidance on these critical procedures.

Maintenance and Troubleshooting
The Craftsman table saw instruction manual guides routine maintenance like blade changes and belt tension checks. It also details solutions for common operational issues.
Regular upkeep, as outlined, ensures optimal performance and extends the saw’s lifespan. Consult the manual for specific troubleshooting steps.
Blade Changes and Sharpening
Your Craftsman table saw instruction manual provides detailed steps for safe blade changes, emphasizing disconnecting power before beginning. It illustrates proper blade removal and installation techniques, including arbor nut tightening specifications.
The manual also addresses blade sharpening, recommending professional services or outlining DIY methods with appropriate safety precautions. Understanding blade geometry and tooth count is crucial for optimal cutting performance. Regularly sharpened blades ensure clean, accurate cuts and reduce strain on the motor.
Always refer to the manual for compatible blade types and sizes for your specific Craftsman model.
Belt Tension Adjustment
The Craftsman table saw instruction manual details proper belt tension adjustment, vital for efficient power transfer and preventing slippage. It illustrates the motor adjustment mechanism, explaining how to loosen or tighten the belt using designated bolts or levers.
Correct tension ensures optimal blade speed and reduces wear on both the belt and motor. The manual specifies the appropriate deflection—how much the belt moves when pressed—for your specific model. Over-tensioning can damage bearings, while under-tensioning causes slippage.
Regular checks, as outlined in the manual, maintain peak performance.
Fence Alignment Procedures
Your Craftsman table saw instruction manual emphasizes precise fence alignment for accurate, safe cuts. It details methods for verifying parallelism with the miter slots, often using a precision square or measuring from the blade to the fence at multiple points.
The manual illustrates how to adjust the fence rails, typically via locking mechanisms or set screws, to achieve perfect alignment. Misalignment leads to binding, kickback, and inaccurate results.
Regularly checking and adjusting the fence, as the manual instructs, is crucial for consistent, professional-quality work.
Common Problems and Solutions
The Craftsman table saw instruction manual dedicates a section to troubleshooting frequent issues. It addresses problems like blade drift, often solved by tightening the arbor nut or replacing worn bearings. Excessive vibration may indicate a bent blade or loose motor mount, detailed in diagrams.
The manual also covers fence misalignment, offering adjustment procedures. Burning smells usually signal a dull blade or excessive feed rate. Always disconnect power before inspecting or repairing any component, as the manual stresses.
Referencing this section minimizes downtime and ensures safe operation.
Specific Craftsman Table Saw Models
Craftsman offers diverse models, including portable 8.25-inch and 10-inch jobsite saws. The instruction manual varies by model, detailing unique features and safety protocols.
Older King Seeley floor models require referencing specific manuals due to design differences.
Craftsman 8.25-inch Portable Table Saw
The Craftsman 8.25-inch portable table saw, a popular choice for smaller workshops and job sites, necessitates careful review of its instruction manual. This manual details assembly, blade changes, and crucial safety features specific to this compact model.
Understanding the portable saw’s limitations, as outlined in the guide, is vital. Pay close attention to the sections covering proper blade alignment, fence adjustments, and the use of safety accessories like push sticks. The manual also provides troubleshooting tips for common issues, ensuring efficient operation and longevity of the tool. Always prioritize safety guidelines detailed within.
Craftsman 10-inch Jobsite Table Saw
The Craftsman 10-inch jobsite table saw instruction manual is essential for maximizing performance and ensuring user safety. This guide details the saw’s robust features, designed for portability and demanding cuts. It covers proper setup, including leg attachment and fence calibration, crucial for accurate results.
The manual emphasizes safety protocols, specifically addressing kickback prevention and correct PPE usage. Detailed diagrams illustrate blade changes and belt tension adjustments. Troubleshooting sections address common operational issues, helping maintain peak performance. Familiarize yourself with all sections before initial use for optimal results.
Older Craftsman Floor Model Table Saws (King Seeley)
Instruction manuals for older Craftsman floor model table saws, particularly those manufactured by King Seeley, can be harder to find but are vital. These saws, known for their cast iron construction, require specific maintenance outlined in the original documentation. The manual details belt adjustments unique to these models.
It covers fence alignment procedures and blade guard installation, often differing from newer designs. Troubleshooting sections address issues common to older machinery. Online databases and Sears PartsDirect may offer downloadable versions or parts diagrams. Prioritize safety when operating these classic tools.
Finding Manuals and Parts
Craftsman table saw instruction manuals are available via the Craftsman website, Sears PartsDirect, and third-party databases. Locating the correct manual ensures safe operation.
Craftsman Website and Online Resources
Craftsman’s official website serves as a primary hub for locating instruction manuals for various table saw models. Users can often search by model number to pinpoint the exact documentation needed. Beyond the official site, numerous online resources compile archived manuals and support materials.
These resources frequently host PDF versions of older Craftsman table saw manuals, proving invaluable for owners of vintage equipment. Websites dedicated to woodworking and tool repair often feature dedicated sections for Craftsman manuals, fostering a community-driven approach to information sharing. Careful searching will yield results!
Sears PartsDirect
Sears PartsDirect is a valuable resource for Craftsman table saw owners seeking instruction manuals and parts diagrams. While primarily focused on replacement parts, the site often includes downloadable manuals associated with specific model numbers. This can be particularly helpful for older Craftsman saws where finding original documentation elsewhere proves challenging.
Navigating Sears PartsDirect requires knowing your saw’s complete model number. Once entered, exploded views and parts lists frequently link to relevant manuals or documentation. It’s a practical starting point for both repair and understanding operational procedures.
Third-Party Manual Databases
Numerous online databases specialize in archiving user manuals, offering a potential solution when Craftsman or Sears PartsDirect lack the specific instruction manual you need. Websites dedicated to vintage tools and woodworking machinery often host scanned copies of older Craftsman table saw manuals, including those from the King Seeley era.
However, exercise caution when downloading from these sources; verify the manual’s authenticity and ensure it corresponds precisely to your saw’s model number. These databases can be invaluable, but accuracy is paramount for safe operation.

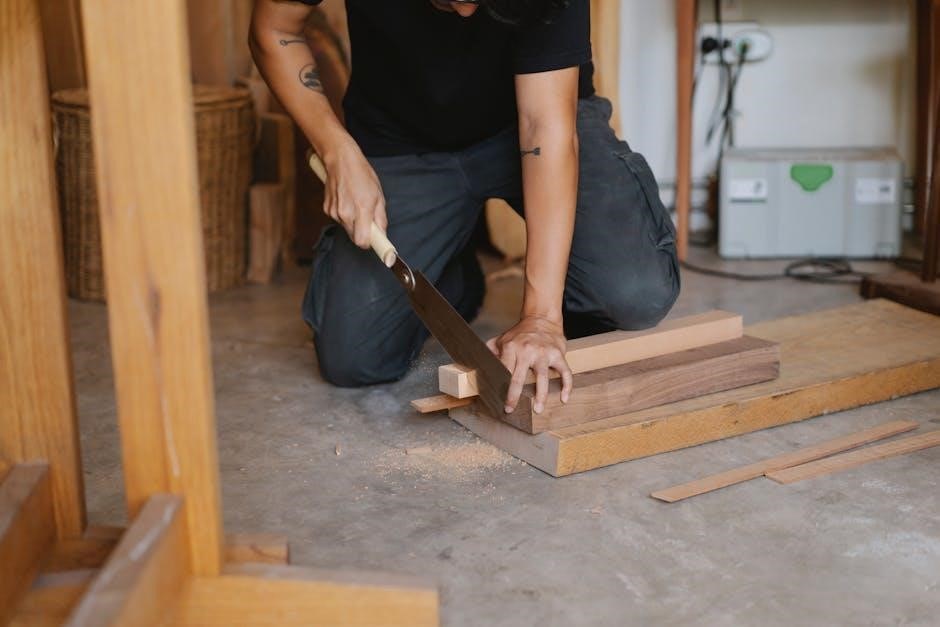
Advanced Techniques
Mastering dado cuts, utilizing push sticks, and featherboards enhances precision and safety. Refer to your instruction manual for specific Craftsman saw adjustments.
Using Push Sticks and Featherboards
Craftsman table saw instruction manuals consistently emphasize the critical role of push sticks and featherboards for operator safety. Push sticks maintain a safe distance between your hands and the blade, preventing accidental contact during cuts, especially with narrower stock.
Featherboards, securely clamped to the table, apply consistent pressure against the workpiece, ensuring a stable and accurate cut. Your manual will detail proper featherboard placement – typically against the fence or table – to optimize performance.
Always consult your specific Craftsman model’s manual for recommended push stick designs and featherboard configurations. Improper use can be counterproductive; correct application significantly reduces kickback risk and improves cut quality.
Creating Dado Cuts
Craftsman table saw instruction manuals detail dado cuts, essential for creating grooves for shelves or joinery. These require a dado blade set – a stacked blade configuration – rather than a standard blade. The manual will illustrate proper blade assembly and adjustment for desired groove width.
Multiple passes are often necessary, especially for wider dados, to avoid overloading the motor. Your Craftsman manual stresses taking shallow cuts and monitoring motor amperage.
Always use a test piece to verify the dado width before cutting your final workpiece. Refer to your model’s manual for specific safety precautions related to dado blade operation and recommended feed rates.
Table Saw Accessories and Upgrades
Craftsman table saw instruction manuals often list compatible accessories to enhance functionality. These include push sticks and featherboards for safer operation, improving control and preventing kickback. Upgrades like zero-clearance inserts minimize tear-out, yielding cleaner cuts.
Aftermarket fences offer increased precision and rigidity, though the manual cautions verifying compatibility with your specific Craftsman model. Blade upgrades, such as carbide-tipped blades, improve cut quality and longevity.
Always consult your manual before installing any accessory or upgrade, ensuring it doesn’t void warranties or compromise safety features.